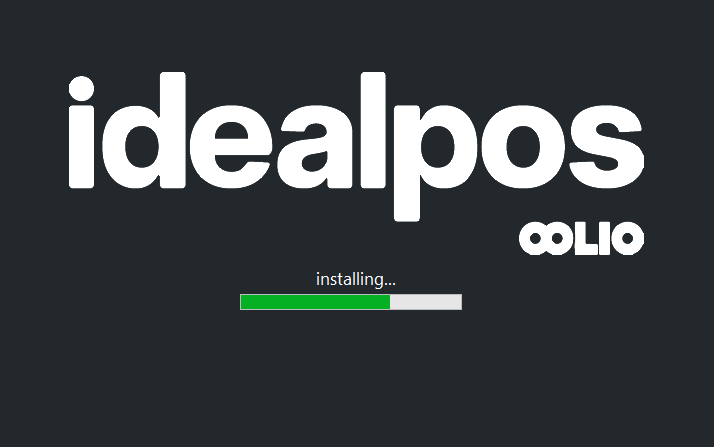
The Idealpos build installation file is updated frequently and can be obtained through your software reseller.
To install the build, copy the file to the local hard disk and double-click to run.
The installation will commence immediately without any required intervention.
However, User Account Control prompts may appear depending on how UAC has been configured in Windows - accept any UAC prompts to continue.
If Windows Firewall is enabled, click ‘Unblock’ or ‘Allow Access’ when prompted.
This message will only appear the first time the software is started.
Idealpos will automatically start upon completion.
You will see the IPS Client software start, and will show the message ‘IPSClient ready - Open POS to start...’.
Start Idealpos for the first time by double-clicking the IPS Client message or the Idealpos icon.
Select either Demonstration Database or Blank Database.
A Demonstration Database contains a complete set of demonstration data (Stock Items, POS Screen Layouts, Promotions, a Table Map layout and many more) that can be used to demonstrate all the functions of the system.
A Blank Database is completely blank and does not contain any pre-configured data.
When creating either a Demonstration or Blank Database, Idealpos will use the Windows Regional Settings to determine the region which the system is located in.
Should a different region to the Windows Regional Setting be required, this can be changed by going to:
Setup > POS Terminals > Modify > Main Settings > User Details > Region followed by restarting Idealpos in order for the change to take effect.
Select the required option then press the "OK" button to proceed.